
Populate your Schedule by Adding Mark & Area
Your Artcraft Template include the correct Schedule to upload your project to Akolades. You need to populate that Schedule by assigning a Mark and an Area to each item in your project.
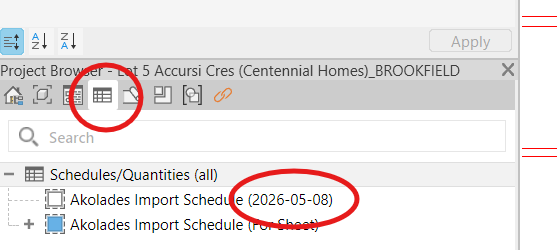
You can see all your schedules by clicking the 'Schedule' tab in your Project Browser.
Ensure that you have the latest schedule by checking the date -- it should match the date that appears on the downloads pagepage..
Marks
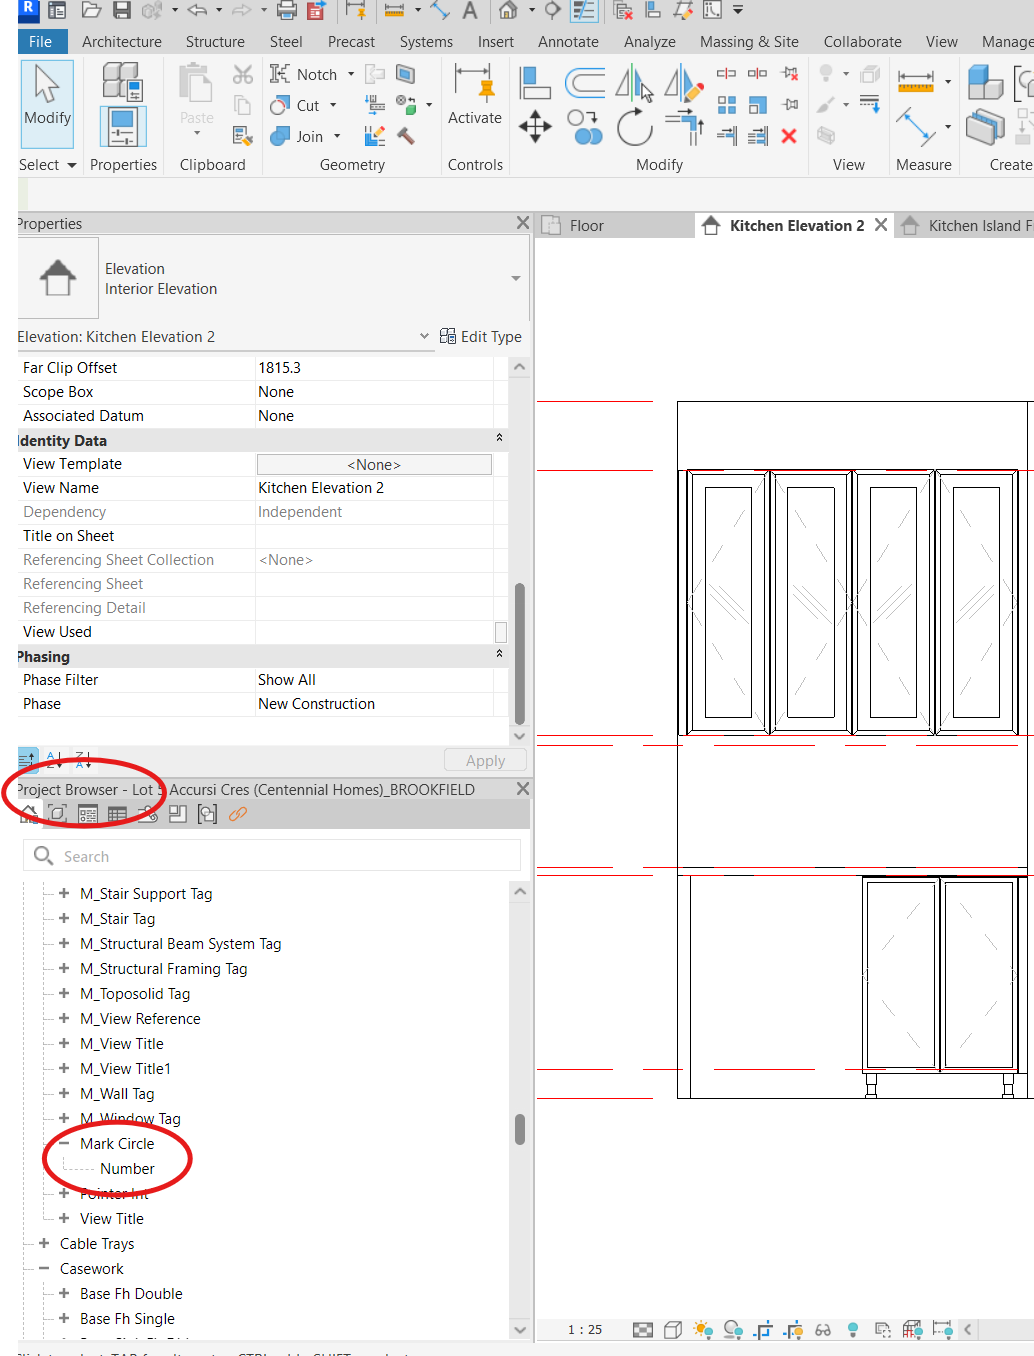
Your Artcraft Template includes Mark families for Circle, Octagon, Square and Triangle. Think of the shape as a window showing you the Mark that is assigned to your family. Revit and Akolades do not read the shape.
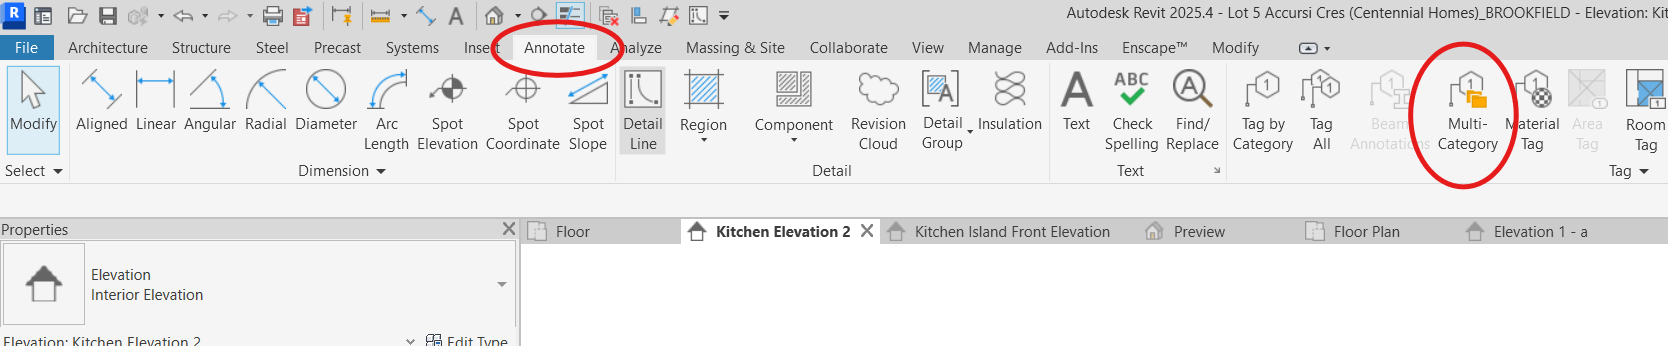
You can find these families by scrolling down in your Project Browser (Annotation Symbols > Mark Circle) OR by opening the Annotate tab at the top of the screen and choosing "Multi-Category Tag."
OR
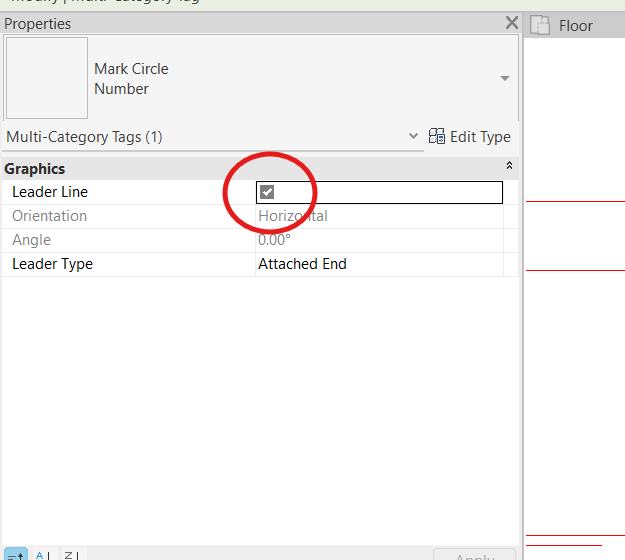
Once your Mark is selected, turn off the leader line option in the Properties Box.
Then drag and drop your Mark over an item to assign the item a mark.
IMPORTANT: Use different shaped marks for different areas that appear on the same page.
Area
Items also need an area to correctly populate your schedule. Items within the same area will upload to the same quote. Different areas will generate different quotes in Akolades.
You can see or edit the Area in column A on the schedule.
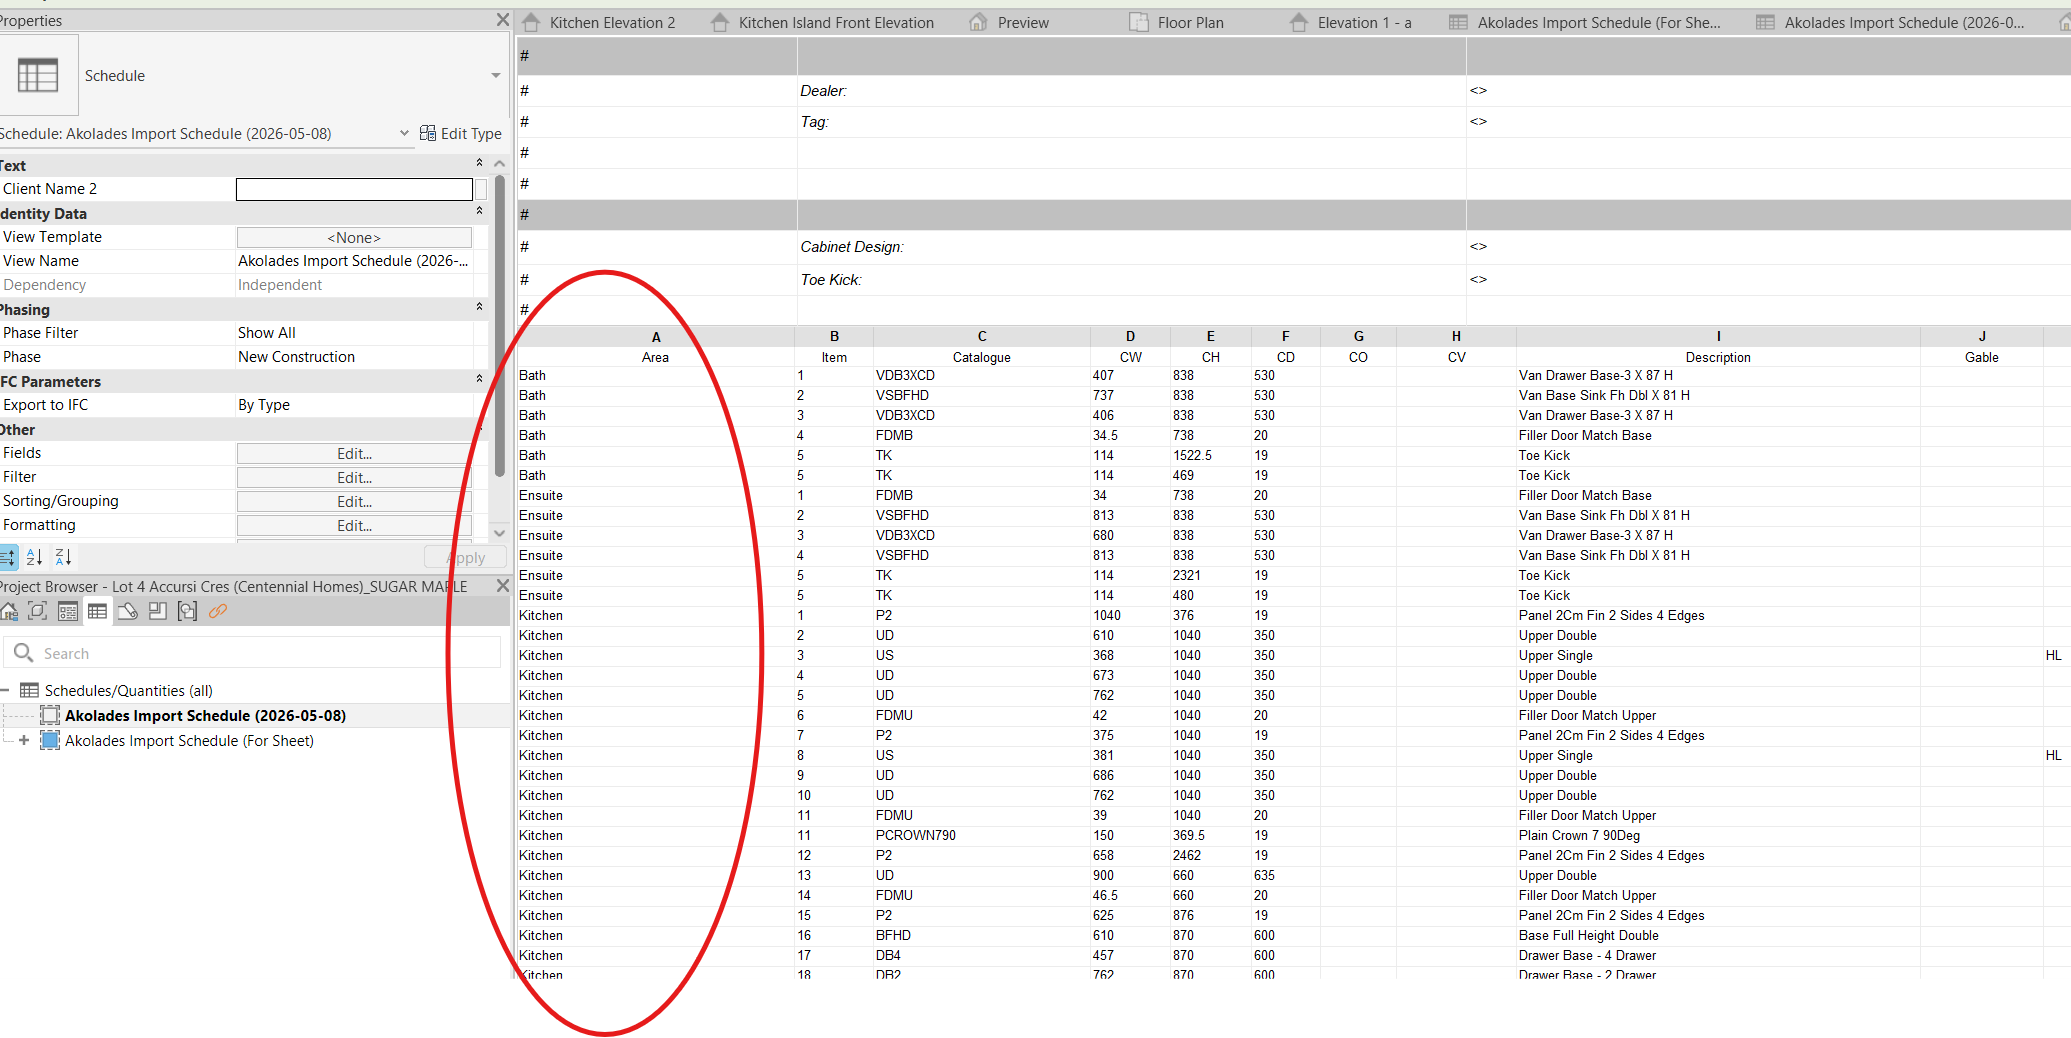
You can see and edit Area from the Properties box, under Identity Data, when you select the family.
To assign an area for the first time, just type it either on Column A of the schedule in the Area field in your Properties browser.

Once you’ve used an Area name once, it will appear on a dropdown menu on both the Schedule and the Identity Data > Area field.